Sub Categories can now be added to parent categories on your ECOM Menu to allow a more refined shopping experience for those looking for specific product types within your menu.
To add a sub category in your product categories you will need to log in to BLAZE POS and complete the following steps:
In ECOM Mission Control navigate to Settings > Store Configuration > Under Permissions Toggle Enable Subcategories 
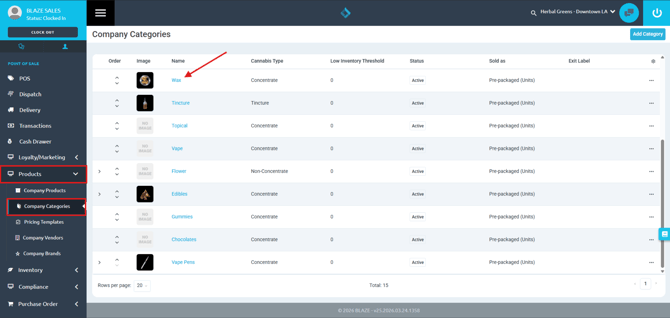
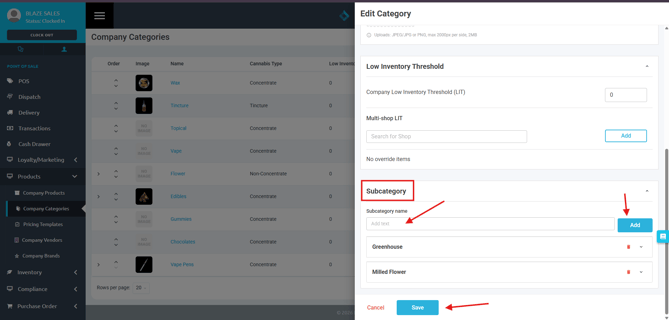
Navigate to Products > Company Categories > Select A Category > Scroll Down to Sub Category Field > Add a Sub Category Name > Click Add > Save
Note: Sub category names must be unique - BLAZE POS will not allow for duplicate sub category names.
Once your Sub Category is added you can then click the drop down arrow to add things like a Low Inventory Threshold and Sub Category Product Type. 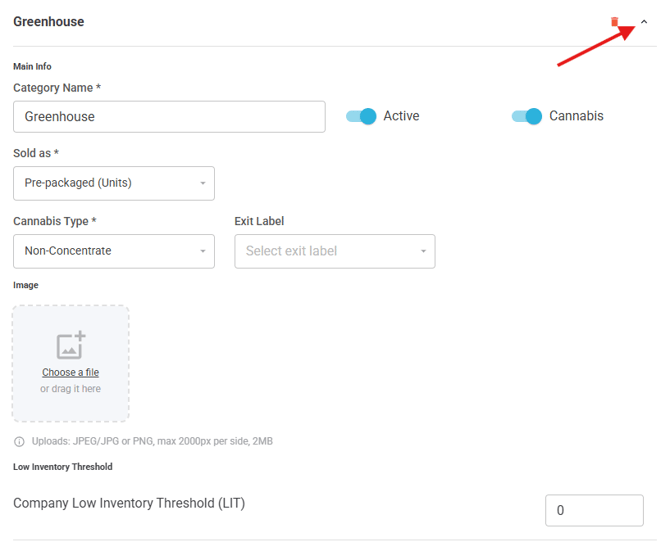
The next step is assigning product to your newly configured sub category:
Navigate to Products > Company Products > Select Product you want to add to your new Sub Category 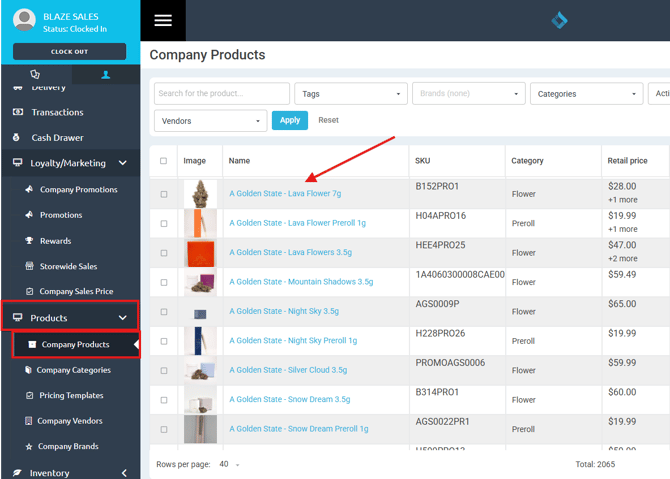
Click into to the Category drop down menu 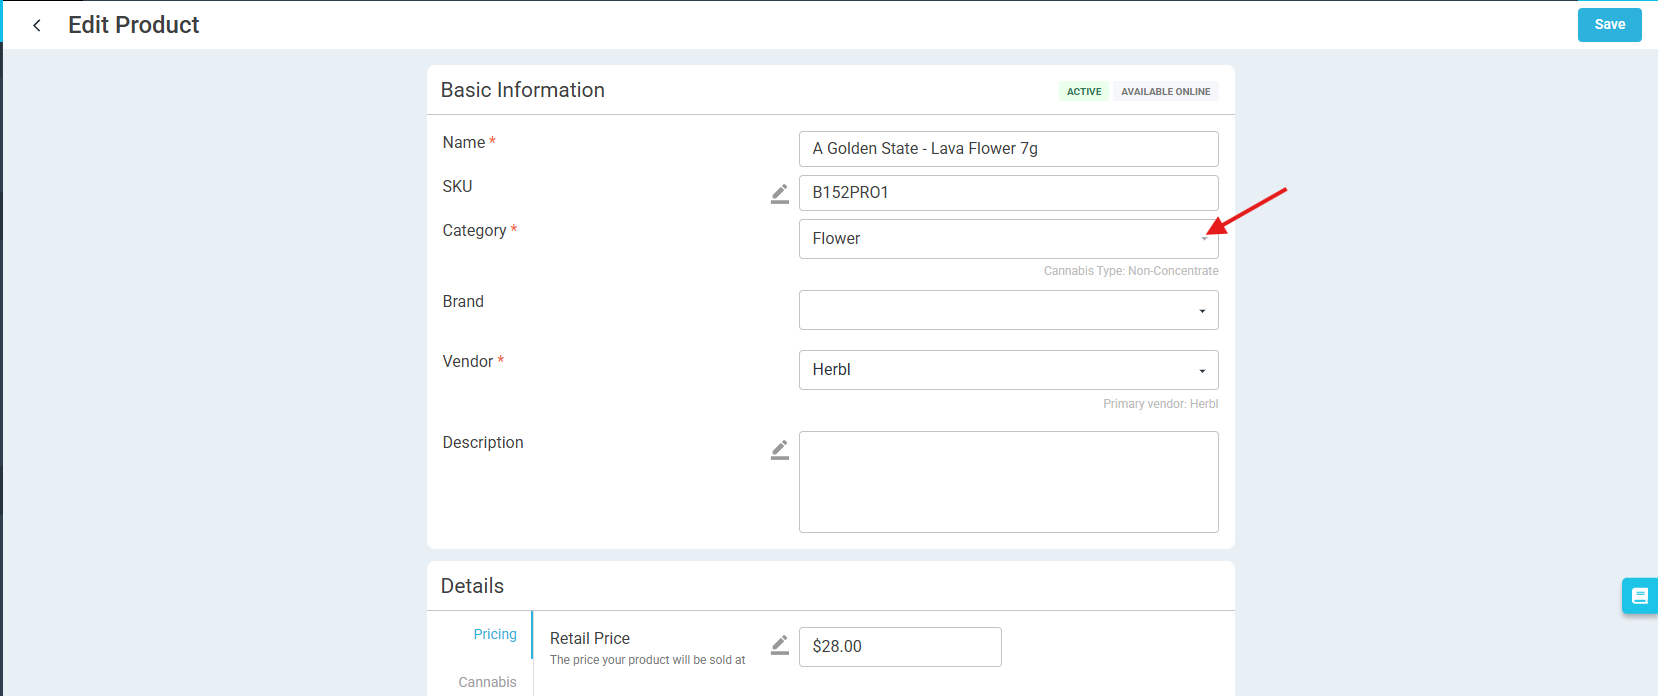
Select the Sub Category that you want to place the product under
Note: A Sub Category can be identified easily by the ">" symbol in front of the name

Don't forget to click save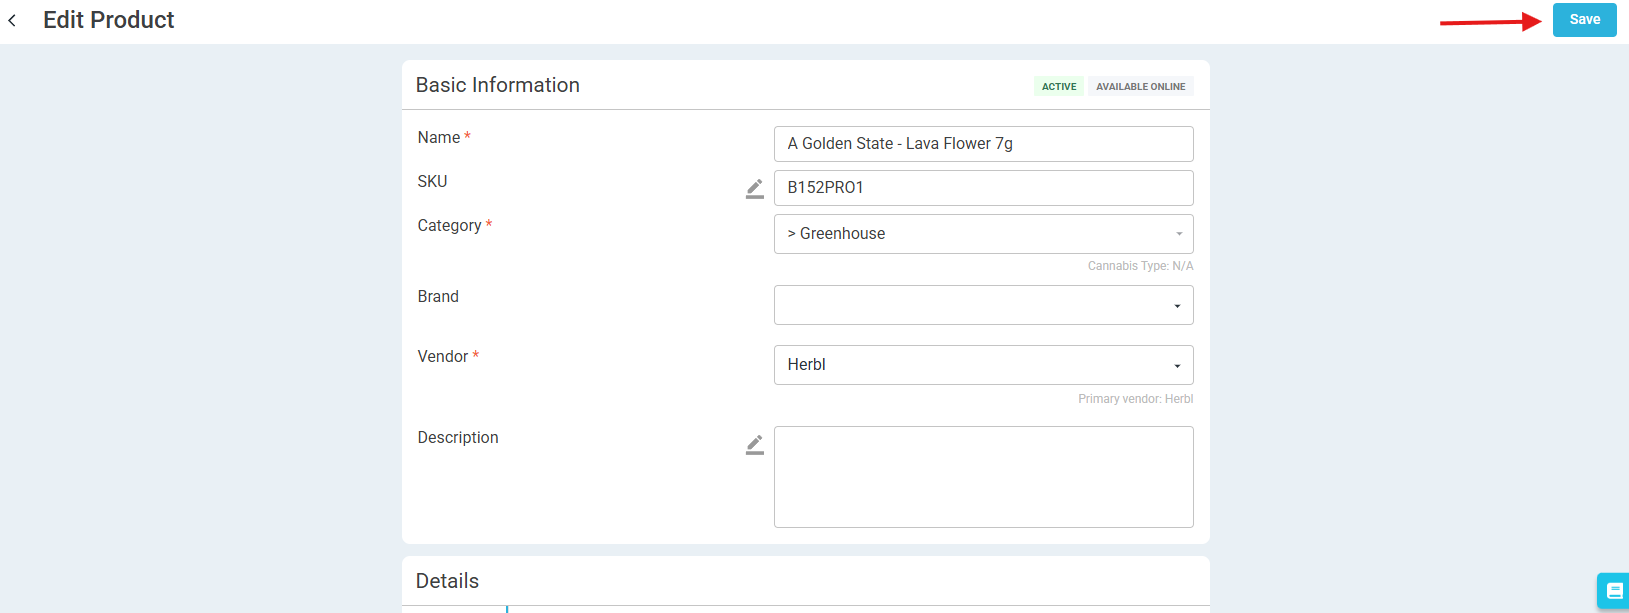
On the next POS/ECOM MC Sync you will see your Sub Category populated in Mission Control and on your ECOM Menu!
Here is an article that explains how to manually sync BLAZE POS and BLAZE ECOM:
POS Manual Sync
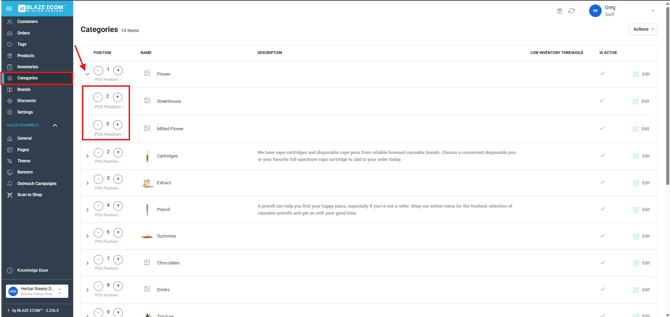
In your ECOM Mission Control Categories page you will now see a drop down arrow next to he parent category - and upon clicking that drop down you will see your new Sub Categories with fields to order them.